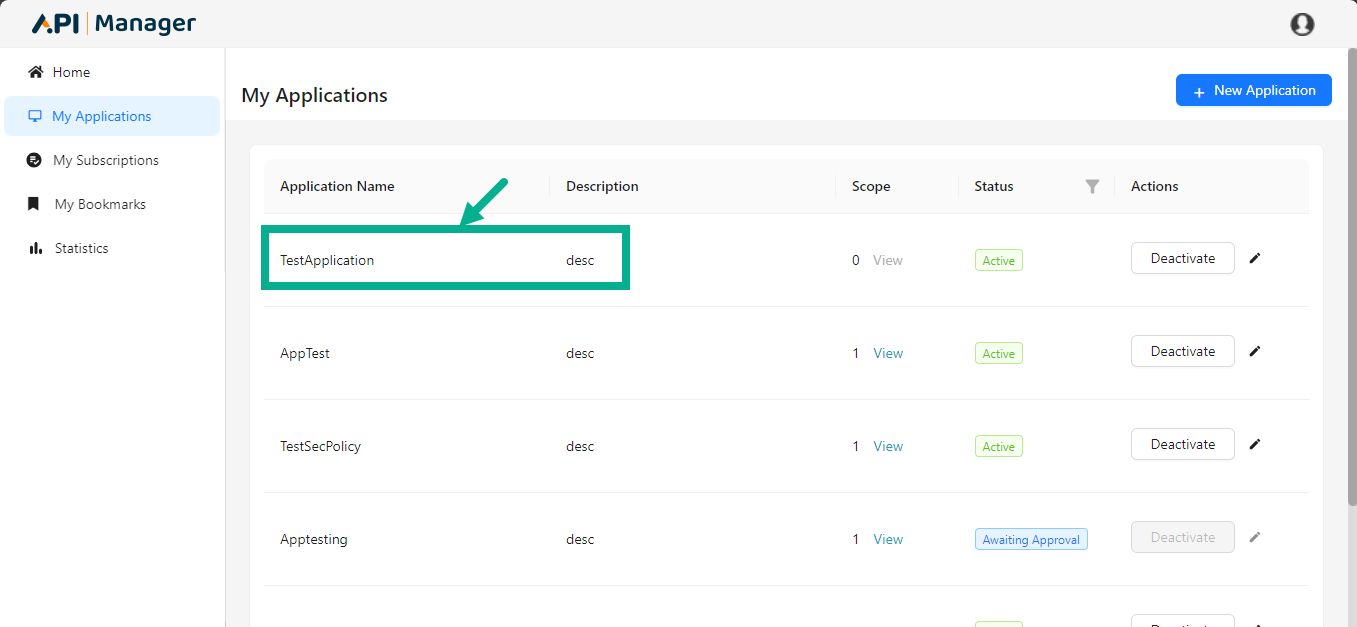
My Applications
As a Developer, you must register the application on the Developer portal in order to connect it with Published APIs and make API calls. This registration provides an Application Client ID and a Secret Key for authorization.
The Developer portal's My Application module lists every application that the Developer user adds, along with the number of applications that have been approved, rejected and canceled.
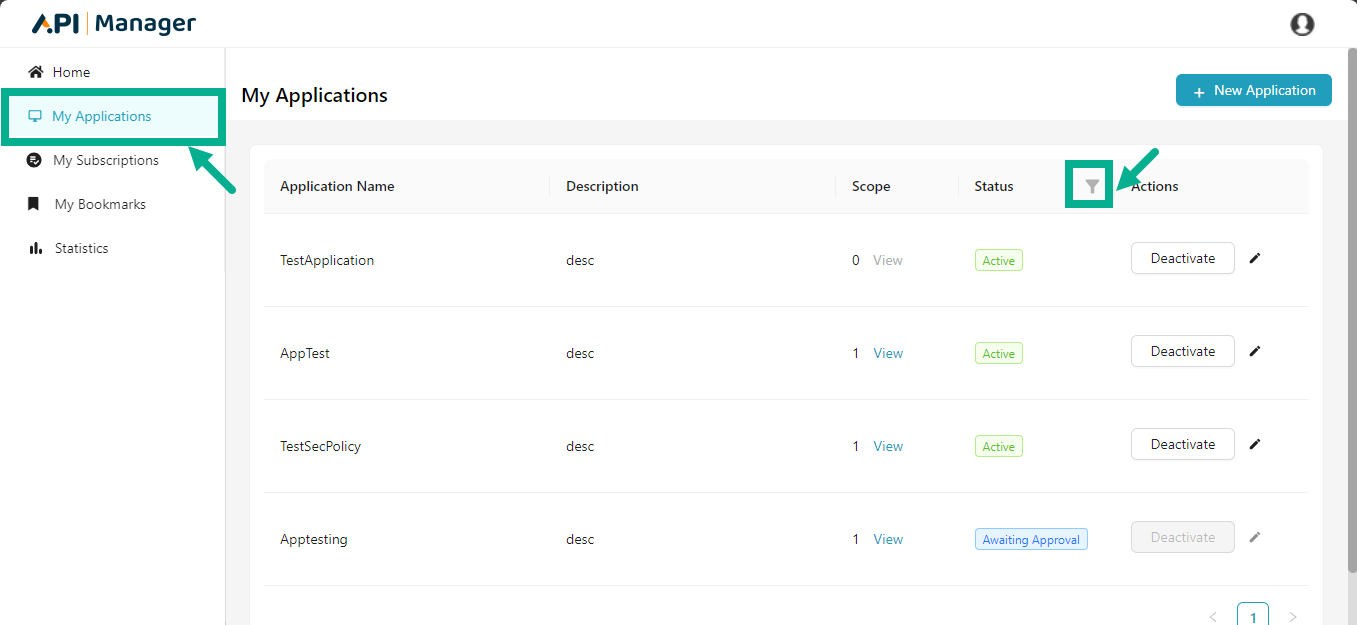
Use the Filter functionality to filter the application based on its status.
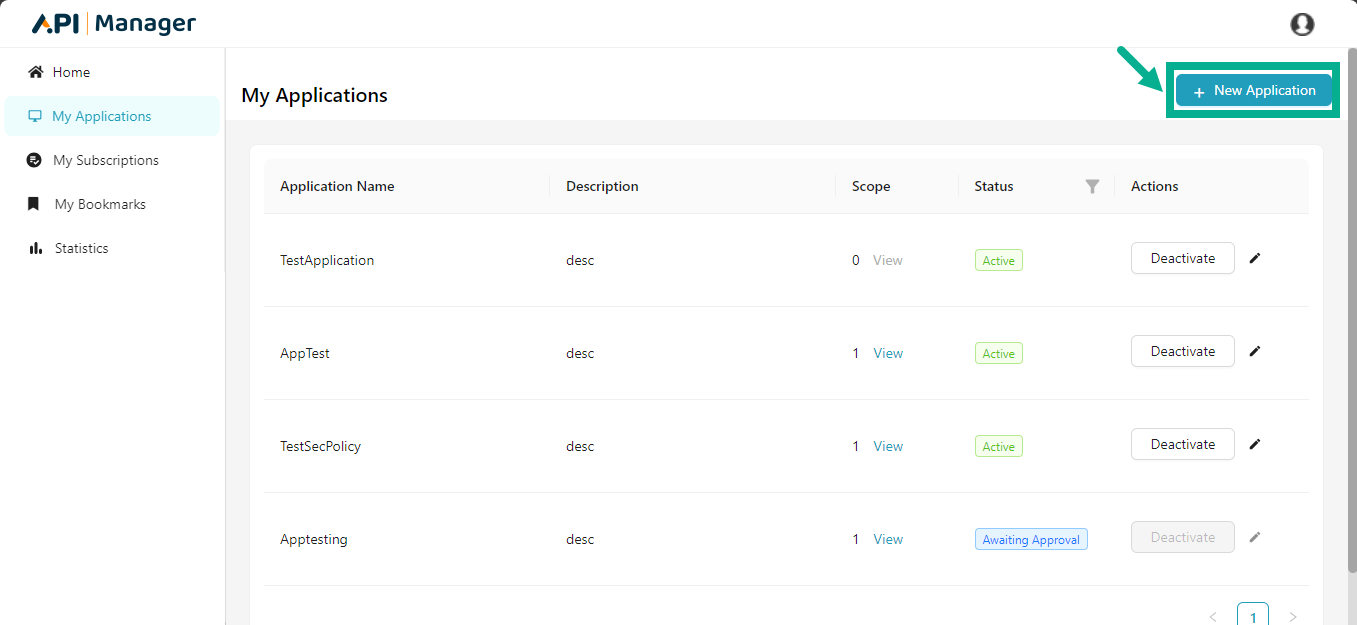
Add an Application
- Click New Application.
Add Application dialog box appears as shown below.
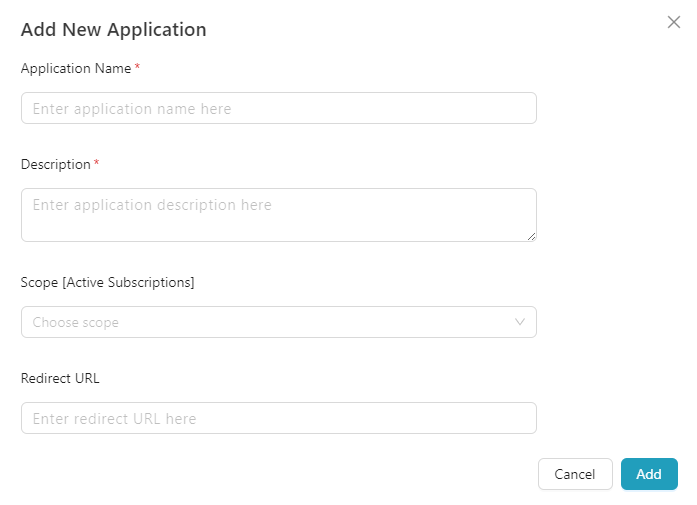
- Enter the Application Name and Description.
Application Name and Description are mandatory fields. Redirect URI is not a required field during registration. If you want to enter the redirect URL, use the following format:http(s)://<Redirect URL>. The user must specify the scope while building the application; otherwise, The Open scope will be considered by default.
- Select the Scope from the drop down.
The user can select single, multiple, or all scopes if necessary.
-
Enter the Redirect URI.
-
Click Add.
Upon adding, the Application is submitted to the Publisher user for approval and the confirmation message appears as shown below.

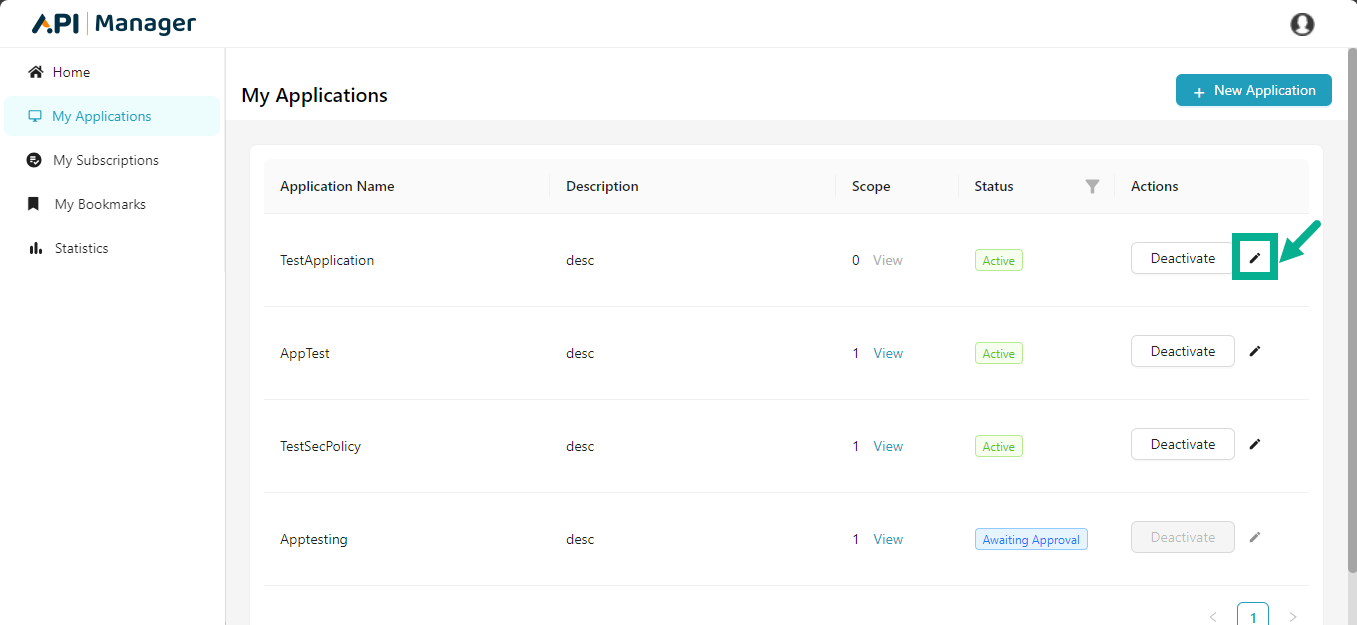
Edit an Application
You cannot update an application with the Awaiting approval or Rejected statuses.
- Click the Edit icon.
The Edit Application dialog box appears as shown below.

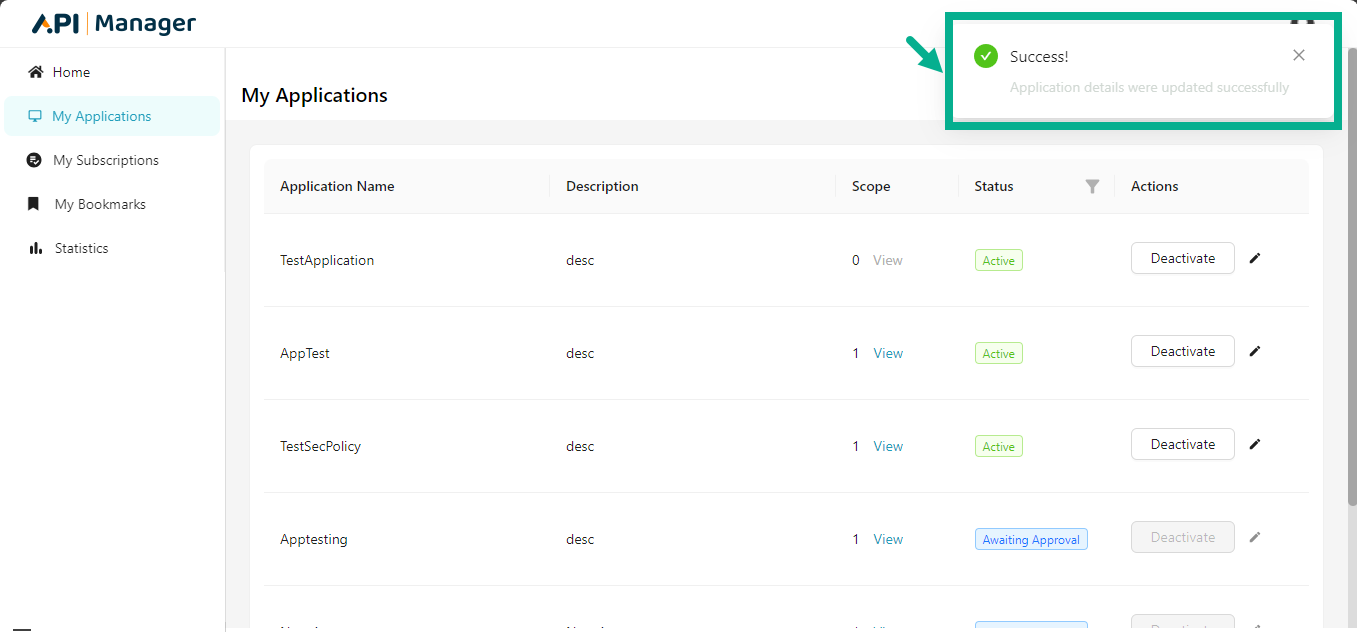
- After making the necessary changes, click Update.
Upon updating, the confirmation message appears as shown below.
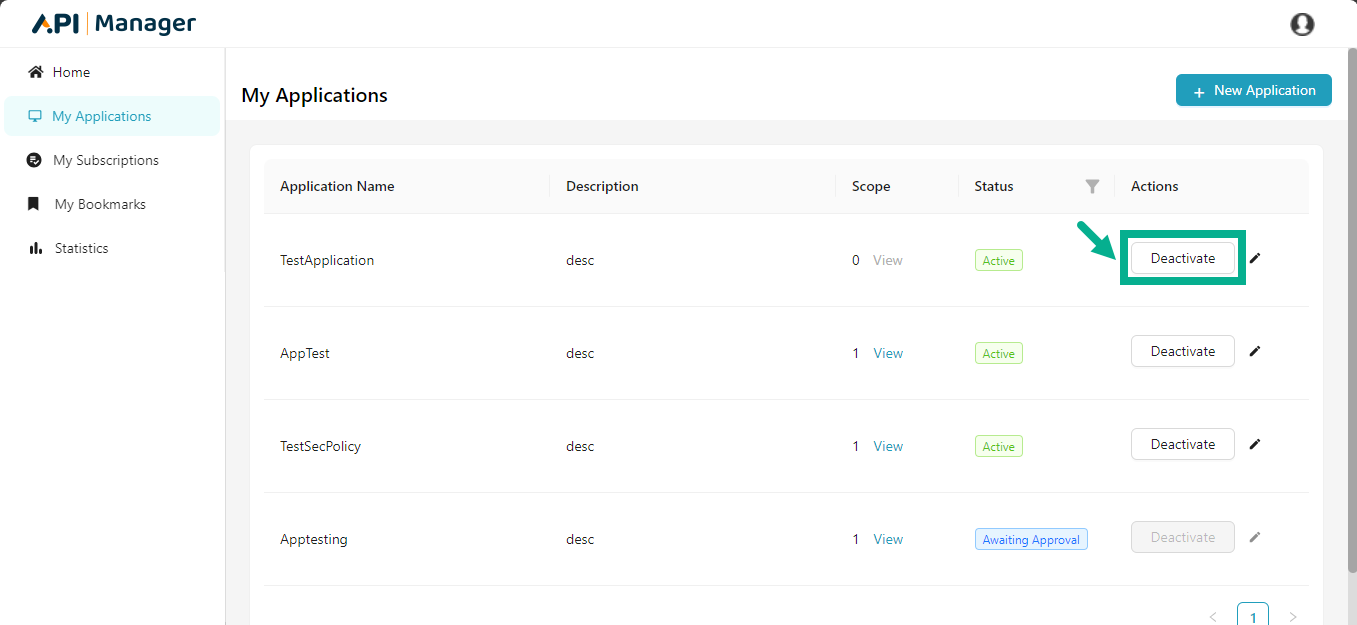
Deactivate an Application
The deactivate option will be available for all active applications.
An Application can only be deactivated and not deleted.
- Click Deactivate.
The pop up appears as shown below.
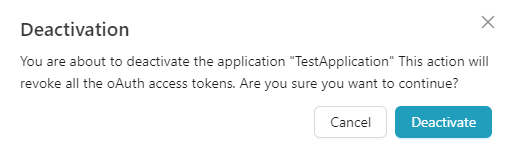
- Click Deactivate.
On proceeding, the confirmation message appears as shown below.
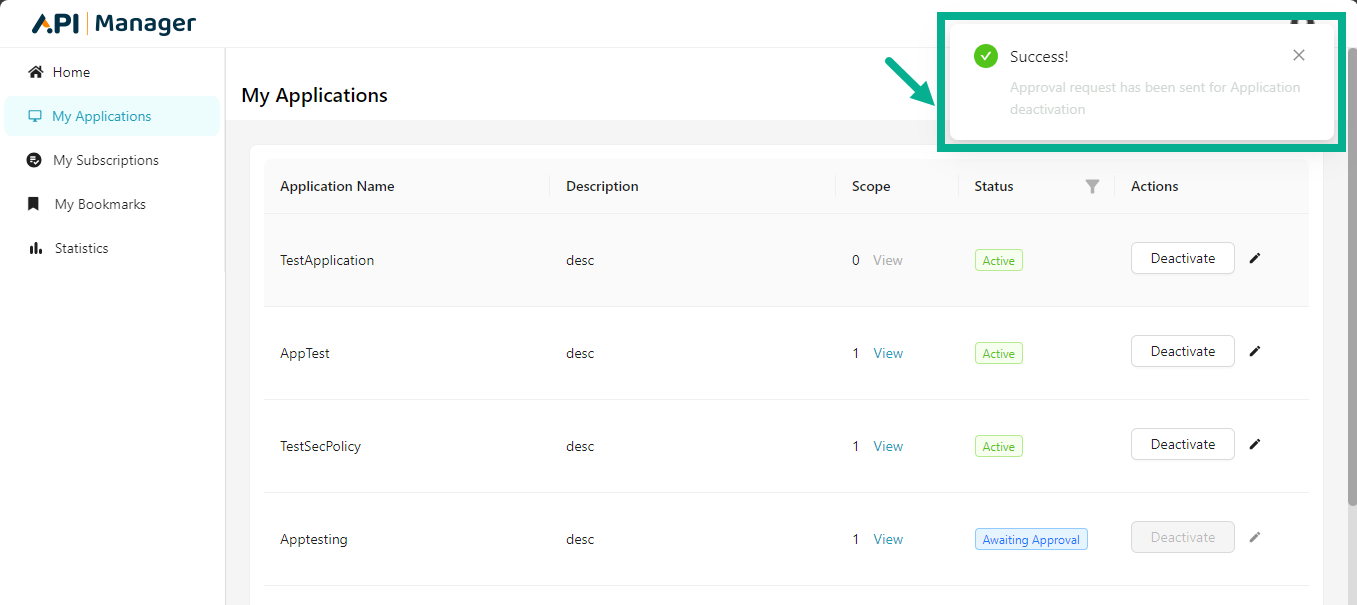
An approval request is sent to the publisher user. The publisher user can either accept or reject the request to deactivate the application. If the publisher user approves the request, the application status will change from active to inactive and vice versa. If the publisher user rejects the request, the application's status will stay unchanged.
Reactivate an Application
Inactive applications can be reactivated.
- Click Activate.
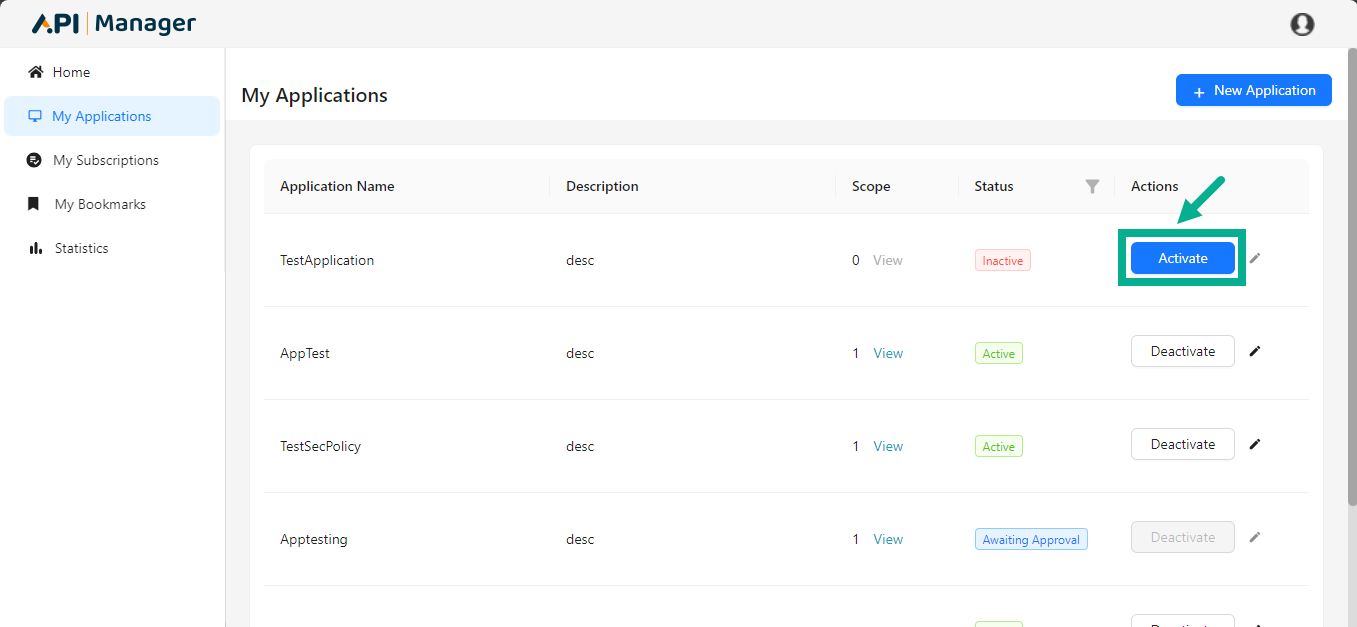
The pop up appears as shown below.
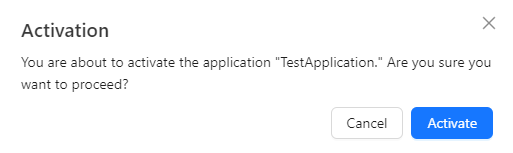
- Click Activate.
On proceedings, the confirmation message appears as shown below.
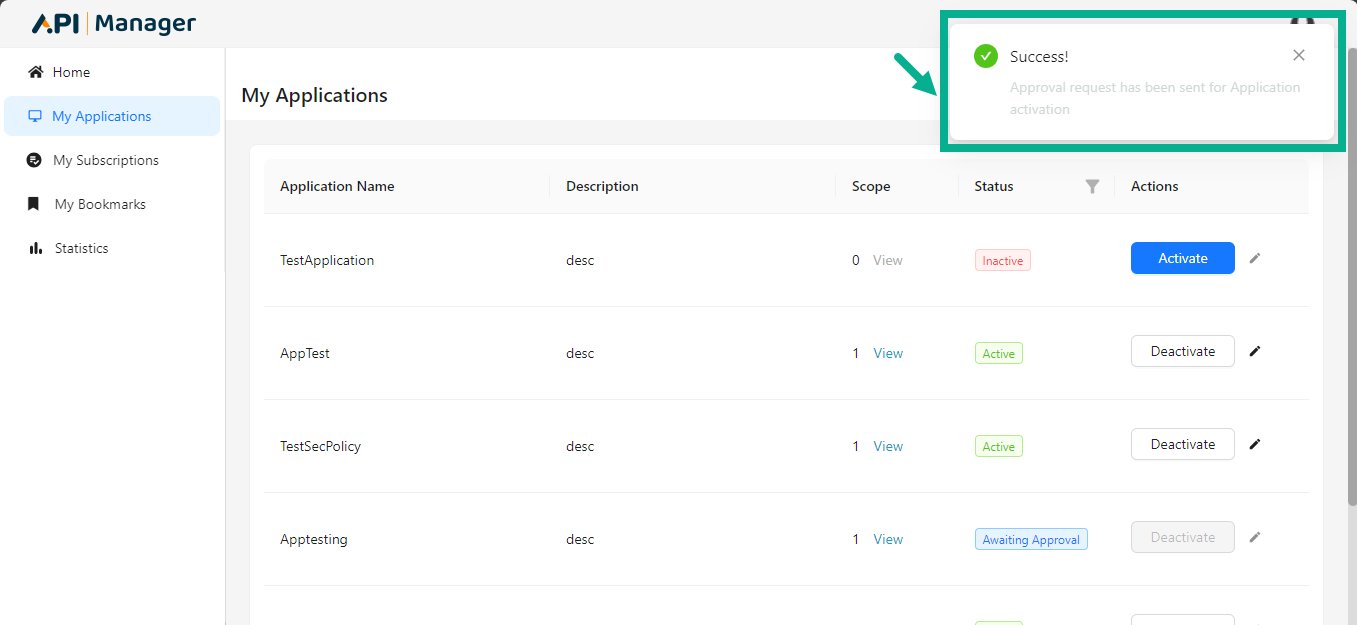
An approval request is sent to the publisher user. The publisher user has the option to approve or reject the reactivation requests. If the publisher user approves the request, the application's status changes from inactive to active. If the publisher user rejects a request, the application's status remains unchanged.
View Application Details
- Click the Application Name or Description.
The Application Details page appears as shown below.
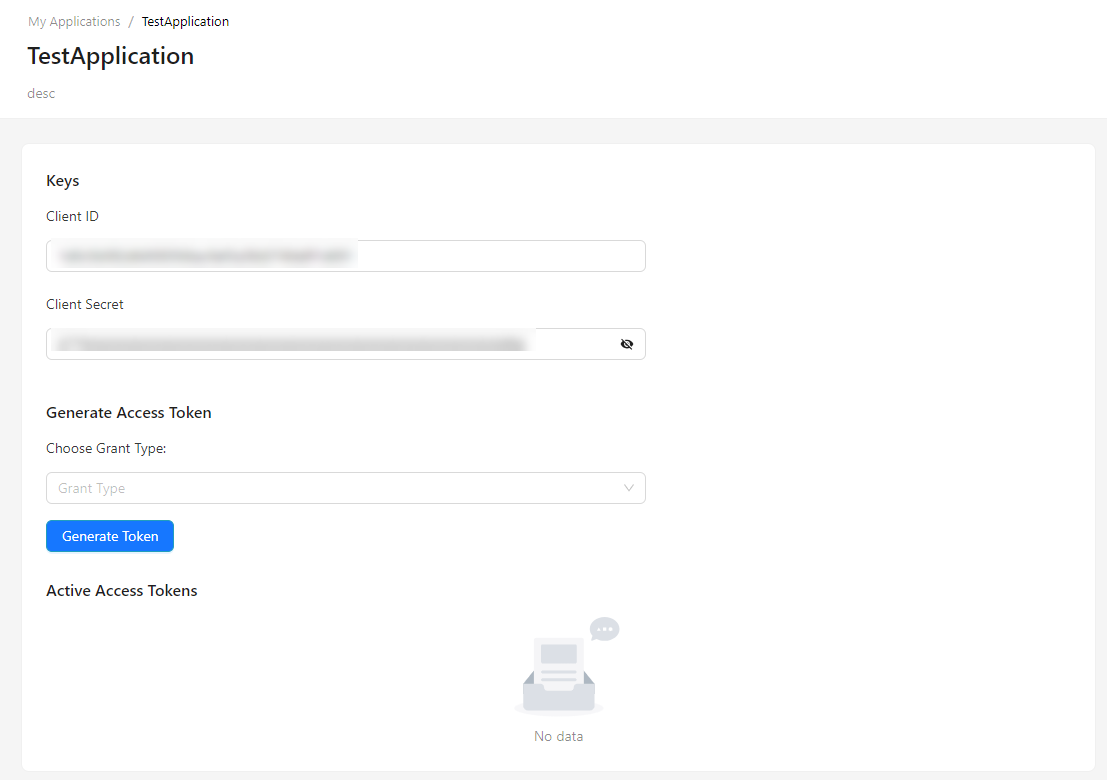
The Application Details page includes four sections:
-
The Overview section provides an overview of the application.
-
The Keys section displays the Client ID and Client Secret key values that the Application will use when making API requests under a Plan. The Client Secret key is masked by default.
-
The Generate Access Token section allows users to generate OAuth access tokens based on Grant Types.
-
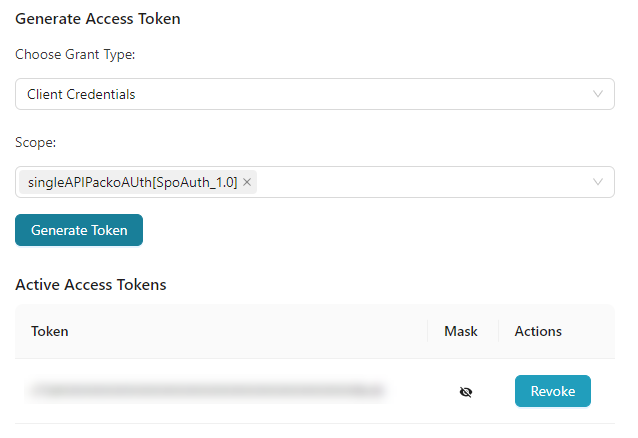
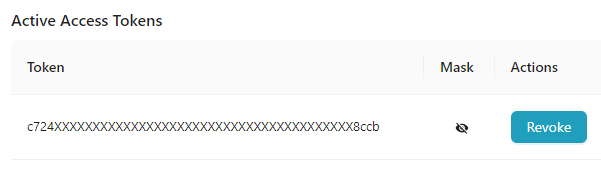
The Active Access Tokens section displays the active access tokens. Active Access Tokens are masked by default.
Generate Access Token
The method for Generate Access Token will differ depending on the Grant Type selected.
The Grant Type are listed below:
- Client Credentials
- Password
- Refresh Token
If Grant Type is selected as Client Credentials the method for Generate Access Token is given below.
- Choose Grant Type as Client Credentials.
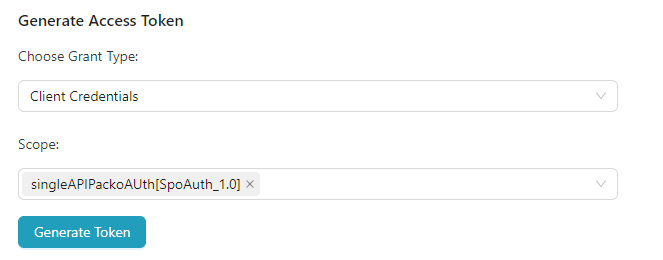
- Select the Scope from the drop down.
To generate an Access Token, use the scope that was supplied when the application was created. Otherwise, no tokens will be generated.
- Click Generate Token.
The access token is generated and displayed as shown below.
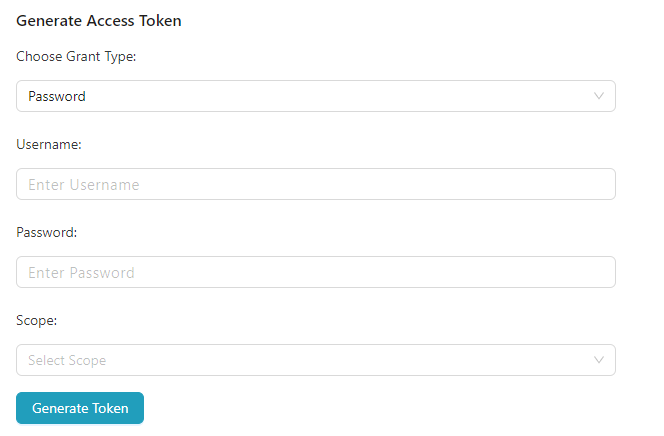
If Grant Type is selected as Password the method for Generate Access Token is given below.
- Choose Grant Type as Password.
-
Enter the User Name and Password.
-
Select the Scope from the drop down.
To generate an Access Token, use the scope that was supplied when the application was created. Otherwise, no tokens will be generated.
- Click Generate Token.
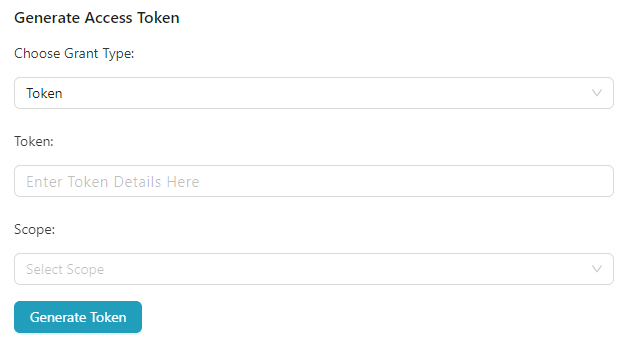
If Grant Type is selected as Refresh Token the method for Generate Access Token is given below.
When your Access Token expires, use the Refresh Token Grant Type to create a new one.
- Choose Grant Type as Refresh Token.
-
Enter the expired Token.
-
Click Generate Token.
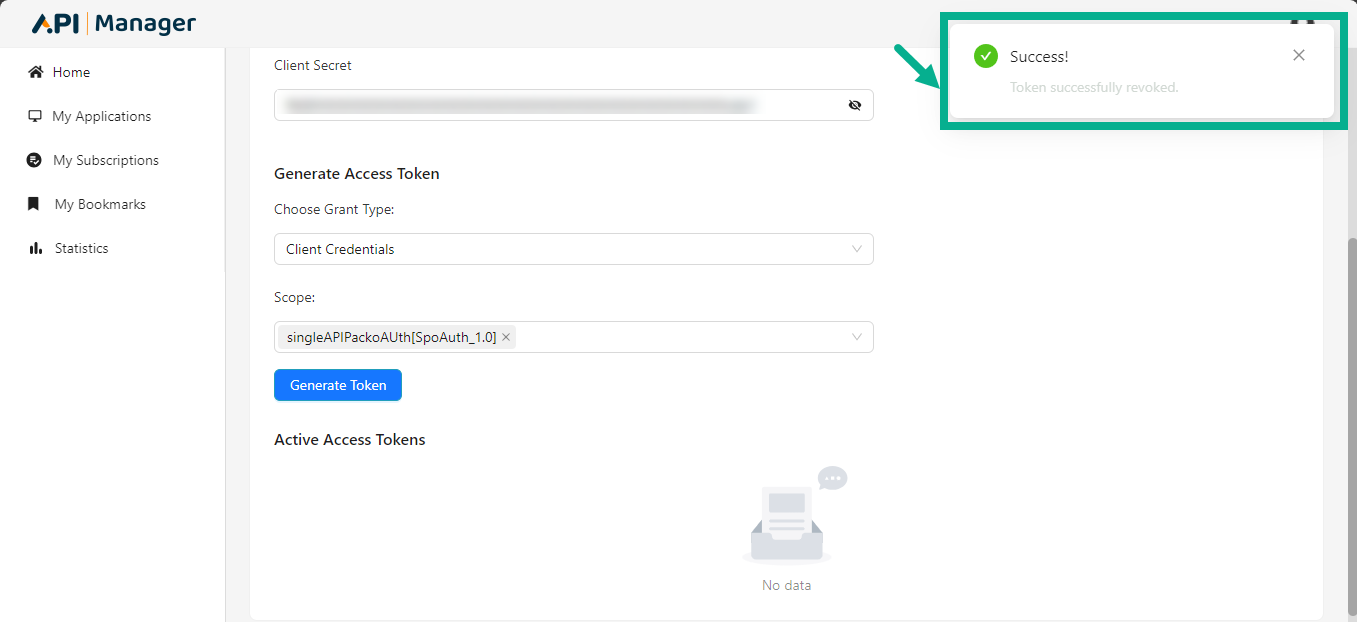
Revoke an access token
When an access token is revoked, it becomes invalid and cannot be used by the client application to access APIs.
- Click Revoke against the access token that you want to revoke.
On proceeding, the confirmation message appears as shown below.